Creating a multiplayer game with just 30 lines of backend code!

Here at Squid, we like to play Codenames during our happy hour. In Codenames, two players compete to get their respective teams to guess their assigned words through single-word hints. Think charades with a twist.
As a fully-remote company, we typically play on horsepaste.com, but it could use some improvements such as preventing players from (accidentally) peeking into the Spymaster view or doing actions for the wrong team.
So I got to thinking, how hard would it be to implement Codenames for ourselves? Specifically, how would I make sure only one player can become spymaster for each team? How do I instantly update all players upon any move made in the game?
Fortunately, Squid makes these mechanisms super easy. Read on to see how to start a project using Squid and how to leverage Squid’s features to make the game!
Create the application
Let’s start by creating an application in the Squid Console.
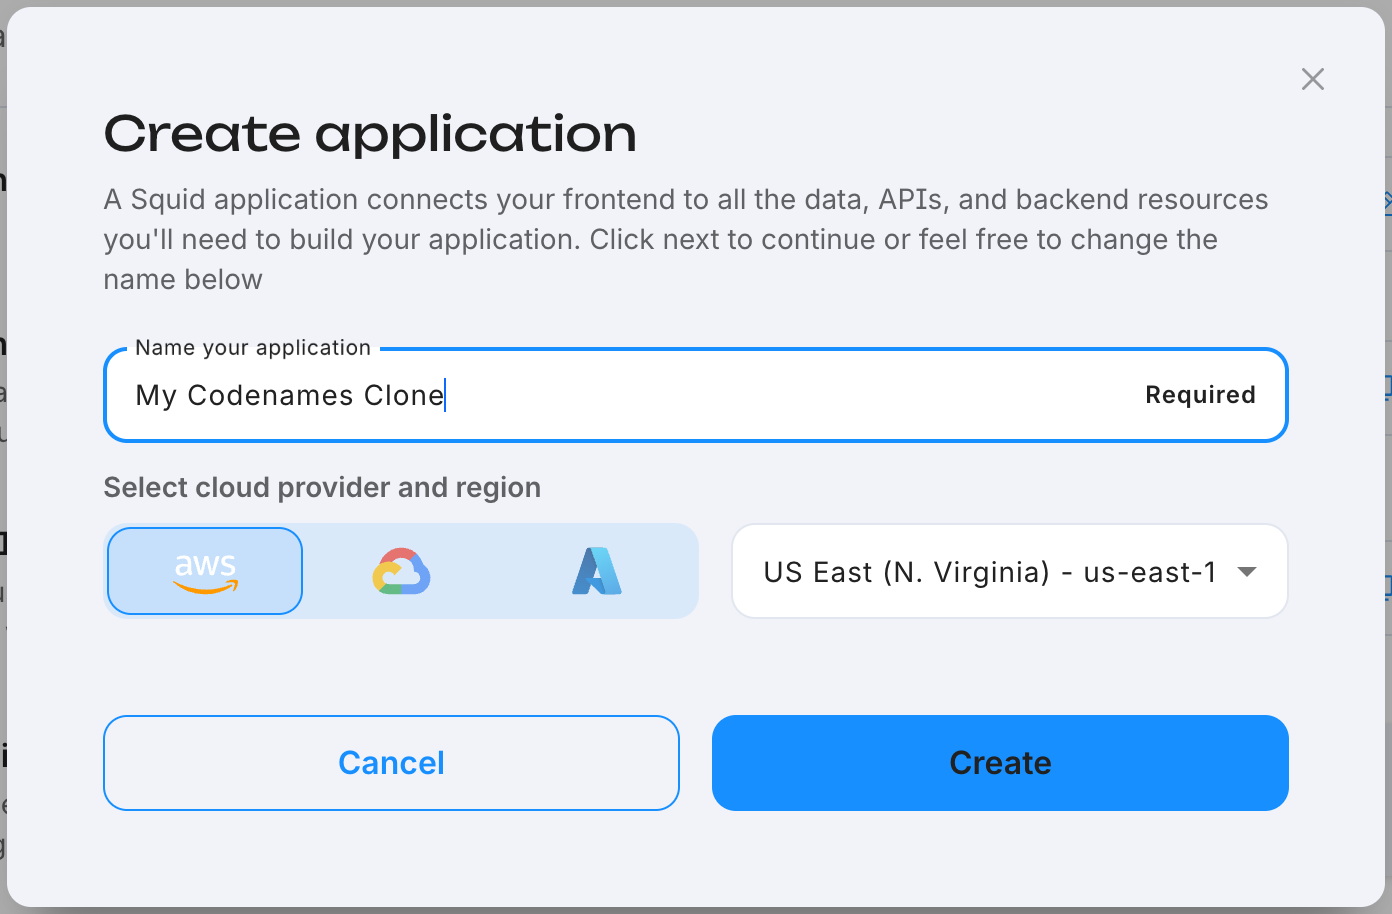
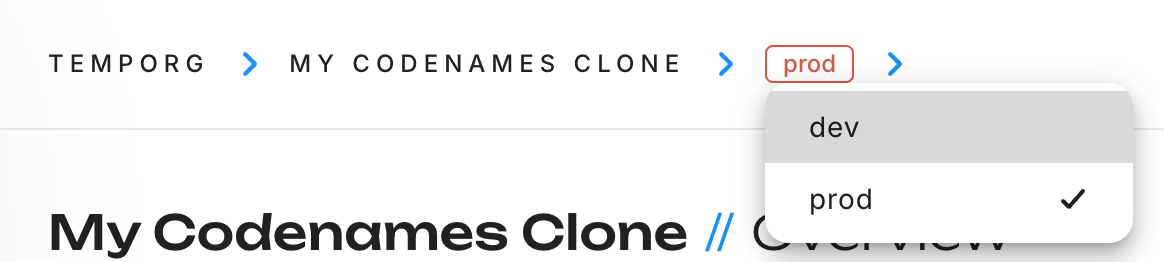
Squid Cloud apps come standard with two environments: dev for development and testing, and prod for when the backend is ready to go live. With that said, let’s switch to “dev”.
Initialize the backend project
Now we are ready to initialize a directory on our computer to be our backend implementation (don’t worry, the backend will be super simple thanks to Squid).
Scroll down and click on Initialize backend.
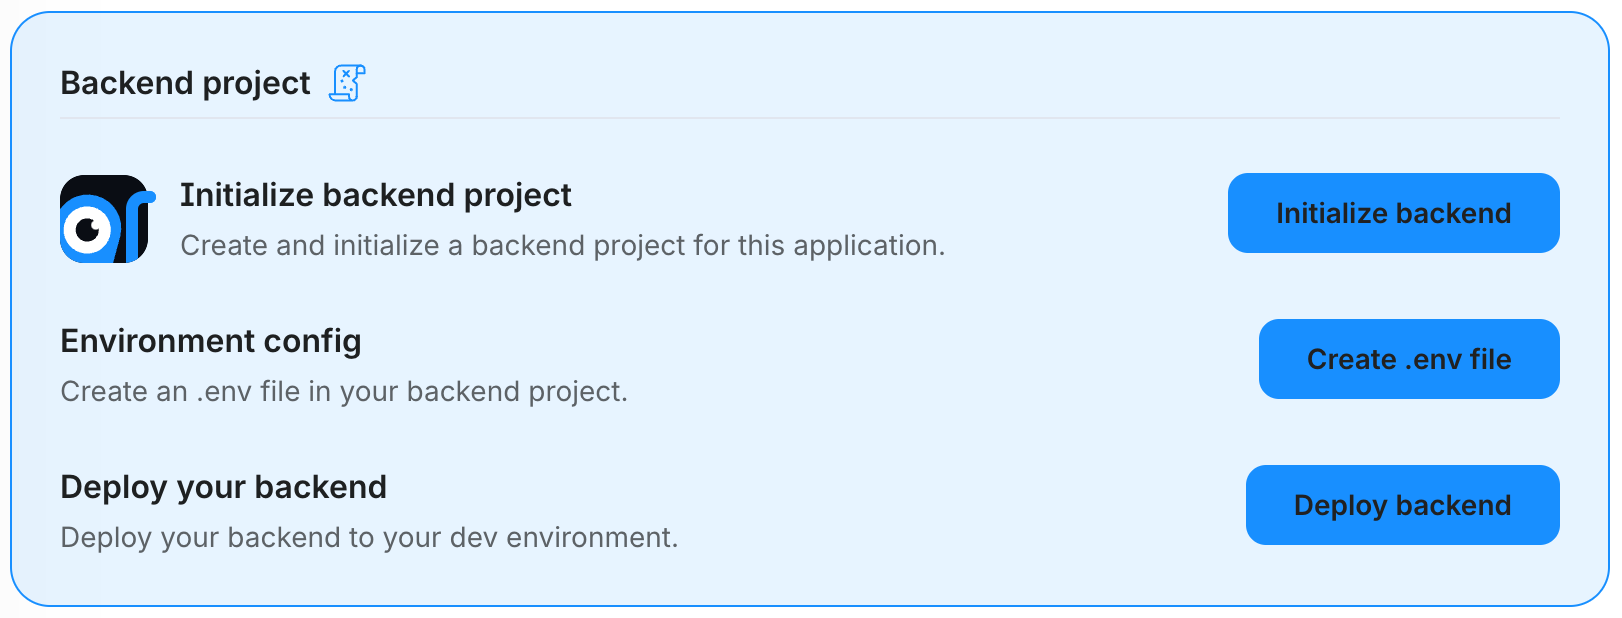
That will pop up a command you can paste into your terminal, which looks like this:
squid init my-codenames-clone-backend \
 --appId [your appId] \
 --apiKey [your apiKey] \
 --environmentId dev \
 --squidDeveloperId [your devId] \
 --region [your region]
This command creates a Squid backend in your current directory with the configuration we need to connect to the built-in database out of the box. We also have plenty of options for customization, as shown in our documentation.
Initialize the frontend project
For the frontend, the simplest thing we can do is copy one of the sample apps in our sample app repositories. Alternatively, you can follow the React initialization steps. But let’s just copy the starter project for Squid Facts.
If the backend directory exists at codenames/backend, let the frontend be at codenames/frontend.
Now let’s open a new terminal window and navigate to the frontend directory. You should now have two terminal windows open: one in which you will run the local backend server, and one in which you will run the frontend. Complete the environment setup with the following steps, ensuring you're in the frontend directory:
npm run setup-env
What can Squid do for me?
Squid provides premade implementations of common backend functions and abstracts away all that boilerplate code so we can focus on building the game itself.
In the case of this game, we just need to have a database to store the game states for each game being played, and to use the backend to prevent any race conditions. For example, if two players on the same team click “Become Spymaster” at the same time, we don’t want a race condition to have both of them see the board. Only one should become spymaster! Squid provides both of these mechanisms out of the box.
But I digress. Let’s define how we are going to represent the game sessions. This is how I’ve defined it:
export type GameState = {
  id: string;
  cards: CardState[];
  lastAccess: number; // Allows cleanup of old games.
  blueTeam: string[];
  redTeam: string[];
  blueMaster: string | null;
  redMaster: string | null;
  turn: Team;
};
Nice and basic. With this approach, players don’t need to make accounts. We will just require them to enter a name (that must be unique) and that’s enough to track teams and spymasters.
We can use Squid’s built-in database to store this object. In React, we’ll manage the game state like so:
Using Hooks
The first feature provided by Squid that we need are Hooks from the Squid React SDK to subscribe to a game session. Specifically, we will use useCollection and useQuery.
Here we represent the database table (called a “collection”) as a variable:
const gameCollection = useCollection<GameState>('games');
And to subscribe to a continuously updated copy of a given game, we do:
const { loading: gameLoading, data: games } = useQuery(
  gameCollection.query().eq('id', gameId!),
  { enabled: !!gameId },
);
Note: The{ enabled: !!gameId } means the hook will only be enabled if our runtime has a value in gameId.
And to insert a new game object, we’ll first need to have a reference to our particular game:
const gameRef = gameCollection.doc(gameId);
And then run the insert function:
gameRef.insert(gameData);
In the case of updating the data while the game progresses, it’d just be:
gameRef.update(gameData);
With just these functions, all clients are able to make and receive updates instantly!
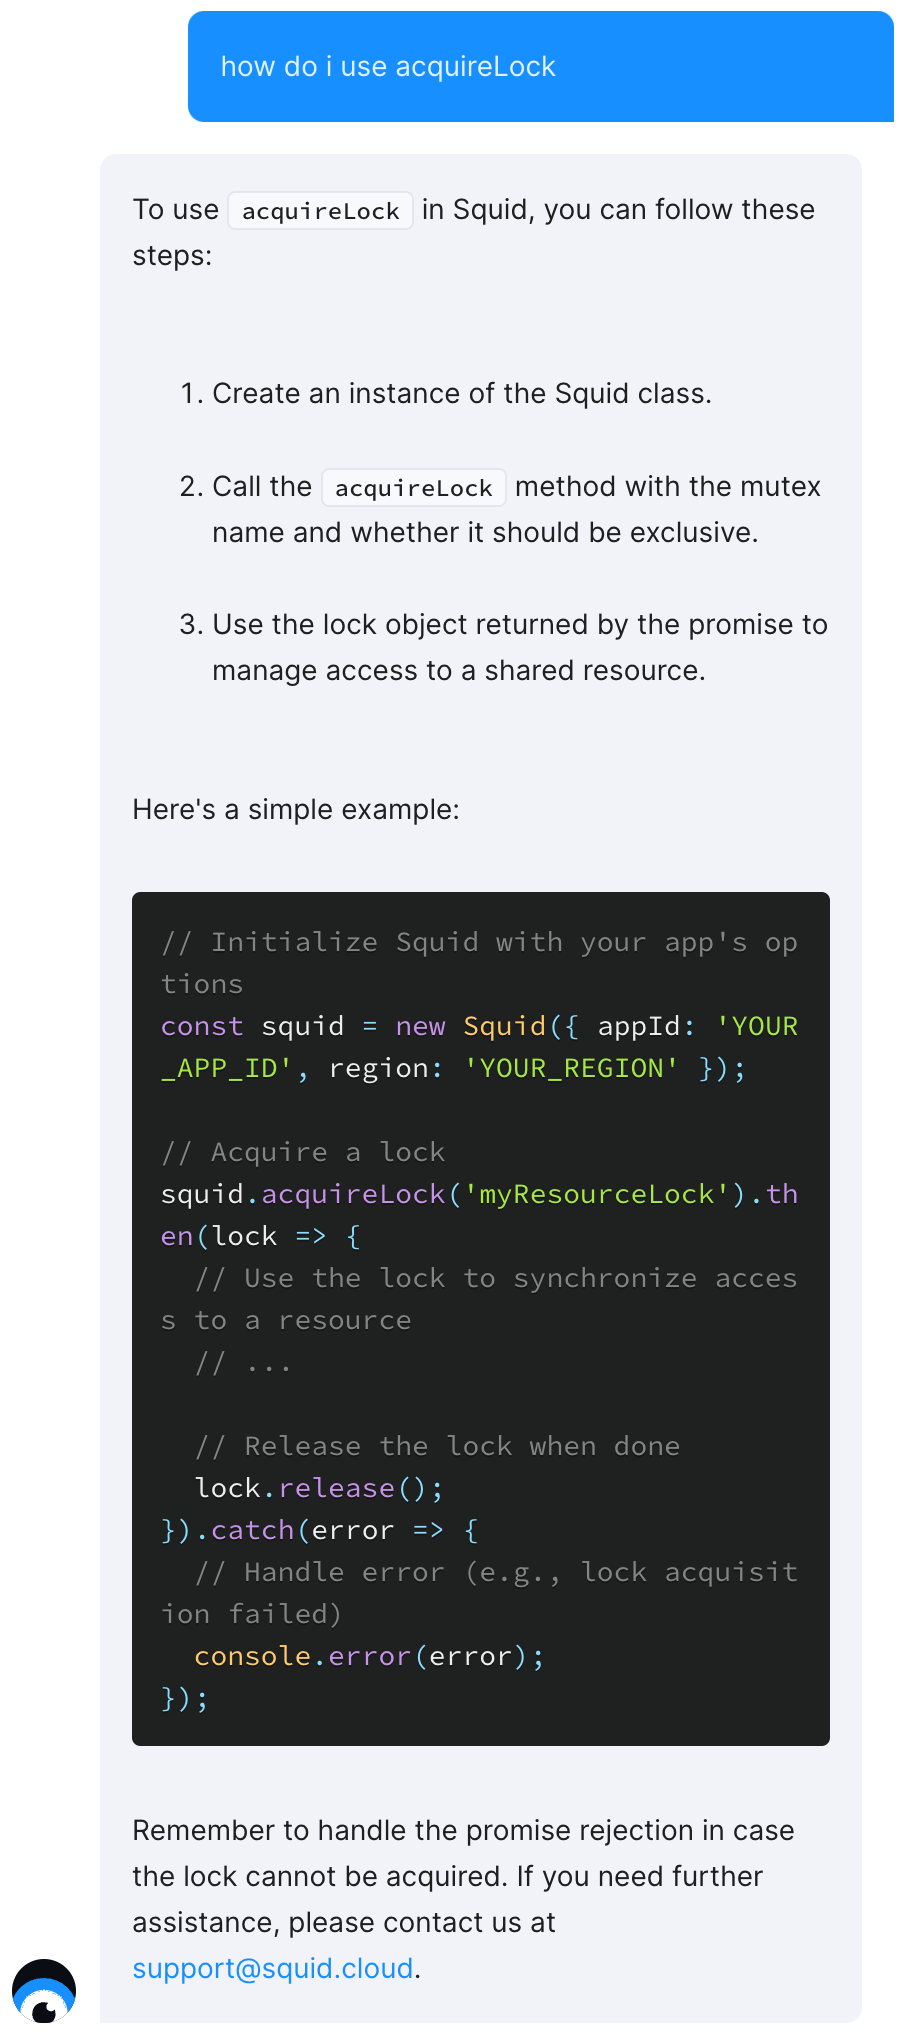
Pro Tip
When in doubt, ask Rudder, our GPT-powered chatbot available on any page of our Documentation! For example, I wasn’t sure how to use acquireLock() so I asked Rudder:
Great! With such resources and building blocks, now we just need to create the game… 🚧👷🏗️🚧… done! Check out the full implementation for yourself!
Since Squid deals with all the messy backend logic for us, I was able to focus entirely on implementing the game itself!
But speaking of the backend, we do need to have a few functions:
- To permit any client to access the built-in database, we must have:
@secureDatabase('all', 'built_in_db')
allowAllAccessToBuiltInDb(): boolean {
  return true;
}
- To permit any client to acquire a distributed lock, we must also have:
@secureDistributedLock()
allowAllAccessToAcquiringLock(): boolean {
  return true;
}
Note: If you require users to have accounts in your application, you can lock #1 and #2 down with your own security checks based on their account information, gameID, etc.
- To clean up old game data periodically, we can use Squid’s scheduler. Let’s schedule an hourly check and delete any game that has been inactive for more than 24 hours:
@scheduler('gameCleanup', CronExpression.EVERY_HOUR)
async gameCleanup(): Promise<void> {
  const maxAge = 24 * 60 * 60 * 1000; // 1 day in milliseconds
  const games = await this.squid
    .collection<GameState>('games')
    .query()
    .where('lastAccess', '<', new Date().getTime() - maxAge)
    .snapshot();
  games.forEach((gameRef) => {
    const id = gameRef.data.id;
    gameRef
      .delete()
      .then(() => {
        console.log(`Cleaned up old game ID: ${id}`);
      })
      .catch((error) => {
        console.error(`Failed to delete game ID: ${id}`, error);
      });
  });
}
And that’s it! We now have a fully functional online multiplayer game implemented with just about 30 lines of backend code!
The best part is, you can play this game right now!
If you have any questions, comments, or need help making anything like this, please don’t hesitate to reach out at support@squid.cloud or on Discord.